Android Custom Views: Creating an Animated Pie Chart from Scratch (Part 3 of 4)

Introduction to Part 3
In Part 1 and Part 2 of this series, we covered the basics of custom views and created a simple custom PieChart class that can accept data and display it as a pie chart with indicators.
In Part 3, we’ll add interactive elements that make the PieChart class more usable in a real application. Specifically, we’ll update our pie chart to start in a minimized state with no indicators or names, to respond to a first click by expanding to show the names and indicators for each slice, and to respond to a second click by collapsing back into the minimized state.
Handling the state of the custom view
Arguably the most important thing to consider when it comes to touch events and view interaction is handling the state of the view. We need to keep track of the current state of the view, so that we know what to do next after each touch event. We’ll be keeping track of the state of our pie chart view using an enumeration called PieState:
While we’re at it, let’s define a new property in PieChart.kt called pieState and initialize it to PieState.MINIMIZED. We’ll also add an initialHeight variable to keep track of the original dimensions of our view:
Hiding the indicators in the minimized state
We don’t want the indicator markers or name labels to show up in the minimized state (default when the app loads), so we’ll set their alpha properties to 0 in the init block:
Overriding fun onTouch()
onTouch(event: MotionEvent?) takes one parameter — the MotionEvent that was recorded when the touch happened. The two MotionEvents we’re interested in are MotionEvent.ACTION_DOWN and MotionEvent.ACTION_UP. The former tells us when the user’s finger first makes contact with the screen, and the latter tells us when their finger is lifted, indicating a complete “tap”.
When we receive a MotionEvent.ACTION_DOWN, we’ll simply return true. When we receive a MotionEvent.ACTION_UP, we need to make a decision about how to handle the event. We’ll use a switch statement to determine the current state of the pie chart, and then run a method to either minimize or expand it:
Note that for all events other than MotionEvent.ACTION_DOWN and MotionEvent.ACTION_UP, we return the default handling of the touch event by calling super.onTouchEvent(event).
Expanding and Collapsing the View
Let’s take a closer look at the methods expandPieChart() and collapsePieChart():
expandPieChart() sets the new height of the view as a ratio of the width, and makes the paints used for the indicators visible with full alpha. It then sets the new pieState of PieState.EXPANDED and calls requestLayout() and invalidate().
We know what invalidate()is used for; requestLayout() essentially re-measures the view by calling onMeasure() and onLayout() again. We need to call it anytime the bounds of the view are changed (in this case, we are changing the height).
collapsePieChart() is very similar to expandPieChart(). We assign our initialHeight variable to our view height, and bring the alpha on all indicator paints back to 0. There’s a problem here, though — we’re checking to make sure initialHeight isn’t null before assigning it to layoutParams.height, but we’ve yet to set it anywhere. Let’s do that now:
We set the initial height in onMeasure(), since we can be certain that onMeasure() will be called when the height of the view is known. We also need to ensure that we only set it if it’s null — this is important because onMeasure() will also be called when the pie chart is in its expanded view, when layoutParams.height will be a value different from the initial height of the view.
Let’s take a look…
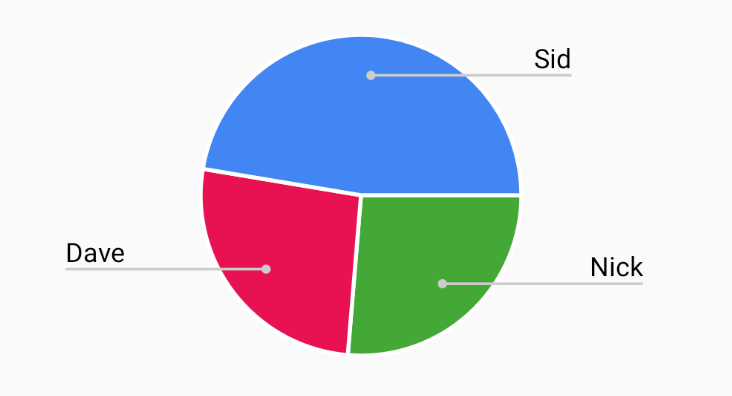
If you’ve reached this section, you should have a pie chart that can be expanded and collapsed by clicking anywhere on its view:
[[@Sid: Can you insert the .gif here?]]
The transitions between the expanded and collapsed states, however, leave much to be desired. Modern mobile users expect animated and seamless state transitions, and ours are still a bit clunky. In the next part of this series, we’ll get our pie chart expanding and collapsing with style — stay tuned!
