Upgrading Your iPhone App to iOS 7: The New Status Bar
With the release of iOS 7, there are several changes in how you lay out and customize the appearance of your UI. In particular, the status bar is now transparent, and your views will show through it. Now this is a great opportunity to redesign your app and take advantage of this new look and feel, but what if you aren’t ready and you want to the old iOS 6 status bar back? Well, I’m excited to tell you that there is a way to do this!
We can prevent the status bar from covering your views in iOS 7 by using Storyboards and Autolayout (Please note, I was unable to upgrade my old .xib files and had to convert them to Storyboards). First, make sure you have at least Xcode 5, and you upgrade your .storyboard file to “Opens in Default (5.0)” and “Use Autolayout” like so:

Enable Autolayout
Next, in the Document Outline, you should see an item that says ‘Top Layout Guide’. This will always be the top of the view and is not iOS version dependent. We want to create a constraint that says our view should always be positioned right below the Top Layout Guide; This ensures that our view will always appear underneath the status bar. For my example, I created a project with a single view controller. In that view controller, I added a UIWebview (using Storyboards) that loads up the Facebook homepage.

Our view on iOS 7

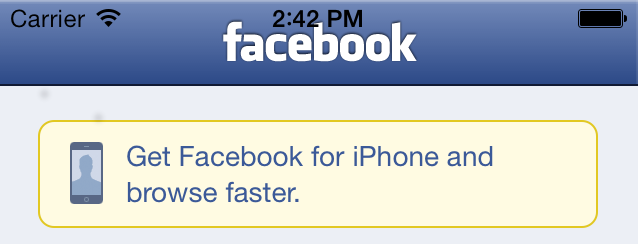
Our view in iOS 6
Back to the Storyboard, highlight your Web View, and CTRL drag it to the Top Layout Guide. When the popup appears, select “Vertical Spacing”.

CTRL drag from Web View to Top Layout Guide

Select Vertical Spacing
This should create a constraint to your Web View that says there is a “Vertical Space Constraint of X” (depends where you placed your Web View in Interface Builder) between the Web View and the Top Layout Guide. This isn’t quite correct because we want that spacing to be 0. In other words, we want our Web View to be flush with the top of the screen. To do that, look for the Constraints object under the View, expand it, and select the Vertical Space. Next in the Utilities Pane, show the Attributes Inspector and change the Constant to 0.

Change the vertical space to 0
We aren’t quite done yet. If you notice there is a red arrow to the right of the View Controller Scene. If we click on it, it tells us that there are Missing Constraints. This is because we haven’t fully explained to Autolayout how to layout our Web View.

Missing Constraints
Luckily, we can get Xcode to automatically create the missing constraints we need. First select the Web View, and then go to the Editor Menu->Resolve Autolayout Issues->Add Missing Constraints.

Add Missing Constraints
Now run your app in iOS 7 and you should see that your view is adjusted to be right below the status bar. Also try running your app in iOS 6 to see that it also works.

The result in iOS 7

The result in iOS 6
I hope this was helpful, and good luck! The code for this example can be found here: https://github.com/paulsfds/iOS7StatusBar. Try doing this same thing but for the iPad storyboard!