Your Own Mini-Heroku on AWS

Heroku is one of those really great tools to help you get started fast with hosting. They support a variety of stacks and save you blood, sweat and tears when it comes to deploying an app. But what about those times where you need to mess with filesystems or have custom binaries that you want to run? How about just having more control of your servers? Dokku to the rescue! Dokku is a small (just above 100 lines of code) yet very powerful tool based on Docker. Dokku utilizes Docker and Nginx plus some other candy to significantly simplify the process of deploying.
Advantages:
- More control, more access. Customize to your needs
- Unlimited projects (or at least however many your hard drives can keep)
- Cheaper, because lets face it; you get tired of waiting for that Heroku dyno to start up
Disadvantages:
- Doesn’t scale as easily
- Doesn’t necessarily have the guarantee of availability as Heroku (depends on server hosting)
- Still pretty fresh (but lots of new features in progress)
For now I think that Dokku is great for development, maybe as a staging server to be used within a company or for hobbyists. It is super fast to set up and allows you and your co-workers/friends to host apps simply. Dokku also saves you the time for setting up web servers and configurations in the case you just want to host your own apps.
Below is a couple of fast steps in order to get started with Dokku on AWS. In this tutorial we will set up a sample Node.js app using Sailsjs. We assume you already have access to AWS.
- What we first need is a server instance to run Dokku. As the time of this writing there are some issues with Ubuntu 13.10 and it’s recommended to run Ubuntu 13.04 for Dokku. The AMI for Ubuntu server 13.04 x64 can be found here:
https://console.aws.amazon.com/ec2/home?region=us-west-1#launchAmi=ami-3cf1c179 - Once the instance is up and running, we need to allow port 80 for our instance. This can be done under “Security Groups” in the AWS console.
- Now that we have the server up and running go ahead and point any top level domain to this instance. The ip of the instance can be found in the AWS console in the description for your instance (Public IP).
- Next thing to do is to ssh into your new Ubuntu 13.04 server and install Dokku (which automatically installs all dependencies and sets everything up for you):
[code language=”bash”]ssh -i ~/.ssh/aws.pem ubuntu@my.com
wget -qO- https://raw.github.com/progrium/dokku/v0.2.1/bootstrap.sh | sudo DOKKU_TAG=v0.2.1 bash[/code] - When the installation is done, run the following command to set your hostname:
[code language=”bash”]echo "my-domain.com" > /home/dokku/VHOST[/code] - We now need to add our public key to be able to push to our Dokku server.
[code language=”bash”]cat ~/.ssh/id_rsa.pub | ssh -i ~/.ssh/aws.pem ubuntu@my-domain.com "sudo sshcommand acl-add dokku dokku”[/code] - Next let’s generate an application and push it to see if it works!
[code language=”bash”]
npm install sails -g #Install sails if you haven’t got it yet
sails new myapp
cd myapp
echo "web: node app.js" > Procfile
git init .
git add . -v
git commit -m "Initial commit, cross your fingers that this will work!"
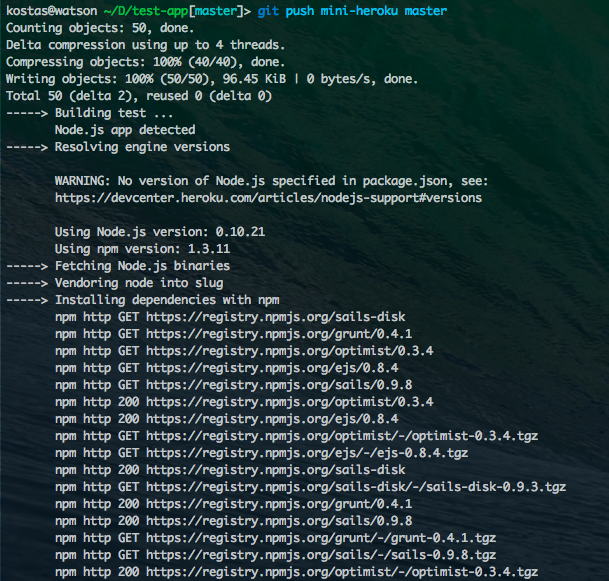
[/code] - At this point we have a server running on AWS, with dokku running on it. We have generated a brand new app using Sailsjs and we have added necessary Procfile to make it run on our server. We now need to add the remote and then deploy:
[code language=”bash”]
git remote add mini-heroku dokku@my-domain.com:myapp
git push mini-heroku master
[/code]
That’s it! In 8 simple steps (with hopefully a lot of coffee breaks) you have set up your own mini-Heroku!

3 Comments