Testing UI in iOS….and some Gotchas

Most times in your application a solid unit test trumps testing your UI. But that’s no reason to neglect your UI from having to endure the same rigorous testing you give your models. “But I don’t have time to sit around and tap every part of my application.”, you say. Enter Automation…I’m sure you have been down that road. A feature is no longer working, and you spend half your debugging time simply tapping into the point of your application where “x” is supposed to happen. Then you make a change, and it breaks something else along the way. There are few frameworks out there that seek to save you tapping away at your UI. I am going to focus on Apple’s own Automation, that ships with XCode.
There are 3 key principles to getting started with writing scripts in Automation
- Bookmark the manual and the docs
- Recording – I am not going to into the details of how to get here. It’s generally the first steps in getting started with Automation. I use recording only if i need a starting point to get the general flow of the application views sorted.
- Learn Javascript (and Apple’s UIA classes for Automation) – end of the day, you need to handwrite some JS tests if you really want to leverage the joy of Automation. I’ve attached a sample project with some Automation tasks i wrote to demonstrate why it’s important and necessary to get involved in the Javascript API of Automation.
The Gotcha’s (especially if you only Automate with “record”) :
Automation does not ship without some time consuming life lessons. The whole reason for stressing the manual labor of writing Automation tests is to avoid future problems. However some things are hard to emulate and need a more “brute force” scripting alternative. I have created a sample project to assist your frustration with the following:
- Alerts – You need to write a handler to deal with alerts in Automation. The handler can handle different kind of alerts and even daisy chain test based on which button(s) were tapped to close the alert.
- Rotation– In my experience, certain events like orientation will not be recorded.
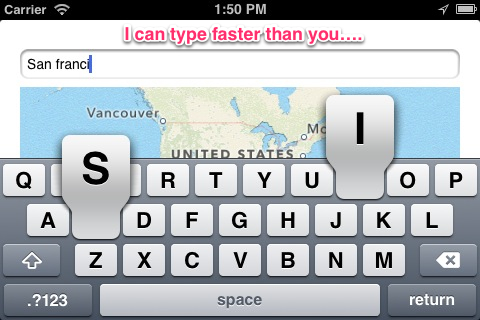
- Text input: when working with the simulator, if you are like me, you prefer to use the keyboard and not the tedious tapping on the iPad simulator keypad. For Automation, your awesome bluetooth keyboard is a dealbreaker.
- Screenshot – Automation can be fast. That’s the whole point. Grabbing a screenshot can be useful to examine results that just fly by during a test.
- Delay– I had a project with a view that faded in over 1.5 seconds. The view contained a button we wanted to testing. Automation does not account for the delay required to make a button available. One brute force way to get around this is applying a target.delay{#ofSeconds} method BEFORE the action you want to test. I use this often when pushing views or testing modal view controller presentation.
- Adjustments – unlike compile time, you can adjust your scripts on the fly without need to recompile. The tests are independent of the binary, so you can write , comment, and record as you are testing.
There are many other things that handwritten JS can alleviate in your Automation testing. I can not stress the importance of testing your UI as things get more detailed. Writing these tests early and running often could save some serious headache later. I highly recommend a quick read of the Instruments Guide (“Automating UI Testing”)- it will take you 15 mins to get the general concepts not immediately obvious. The Stanford video at iTunes also could be helpful, if you have the attention span.
Finally, as my colleague here at Grio has wisely noted to me, the best way to test your UI is to “hand your app to the QA guys”. Indeed…this is the best testing. However, sometimes you still have to test UI to know it just works…..and will continue to just work.
